How to take Product Photos like a Pro
While taking product photos one question that all of us have is, “will my product photo look impre ...

Are you struggling to capture great photos for your ecommerce store?
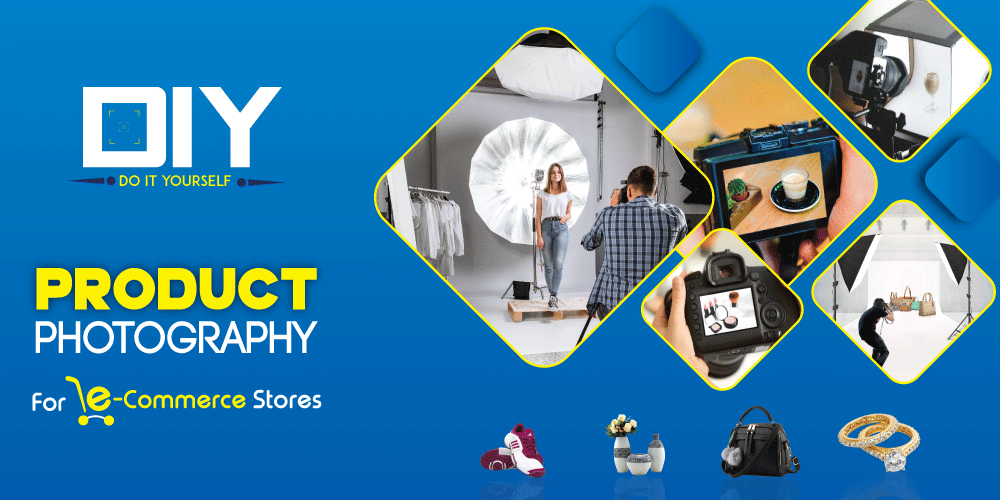
If yes, you need not worry. Instead of just going through trial and error, you should try to follow a detailed guide. We will today share with you a DIY guide to product photography for ecommerce stores. The product photography tutorial has three sections which are:
The 3 section guide will help you not only plan your shoot but also execute it to perfection. You only need to follow the steps we’ve highlighted below, and you can capture perfect photos for your store.

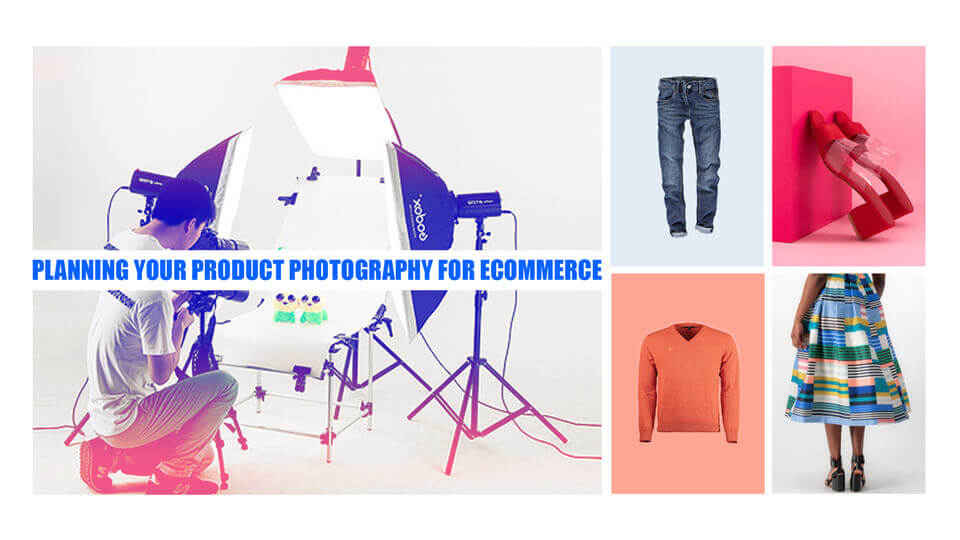
You cannot just (put your ecommerce product in front of a camera and) start the photo session (for your products) right away. You have to plan to ensure that everything is ready and at hand when you start the photoshoot. That is why planning the photoshoot is pretty essential. We will help you understand the things which you need to sort out before you begin your photo session.
The very first thing which you need to do is to understand your camera. It does not matter whether you’re using a DSLR or whether you’re using your smartphone camera; you have to go through the features to understand more. If (you use) (using) a DSLR, you have to look at the aperture options and the shutter speed. Similarly, when it comes to your smartphone camera, you have to look at various modes like burst mode, as well as filters on offer.
You have to try and click a few photos of your surroundings using different settings to become familiar with your camera. It will help you capture the right images in the first few attempts itself.
You might be thinking how does the niche impact the photography blueprint?
Product photography will vary from one niche to another. You need to always take into account the niche or the products which you are capturing and accordingly prepare a blueprint. For example, if your product is a shoe, you will have to click it from all angles like the top, back, front, side as well as 45. While some other products like bracelets or pendants need not require capturing from all angles. That is why you have to take your niche into account and plan the photo shoot accordingly. Once the blueprint is ready, it will be easy for you to capture the desired photos.
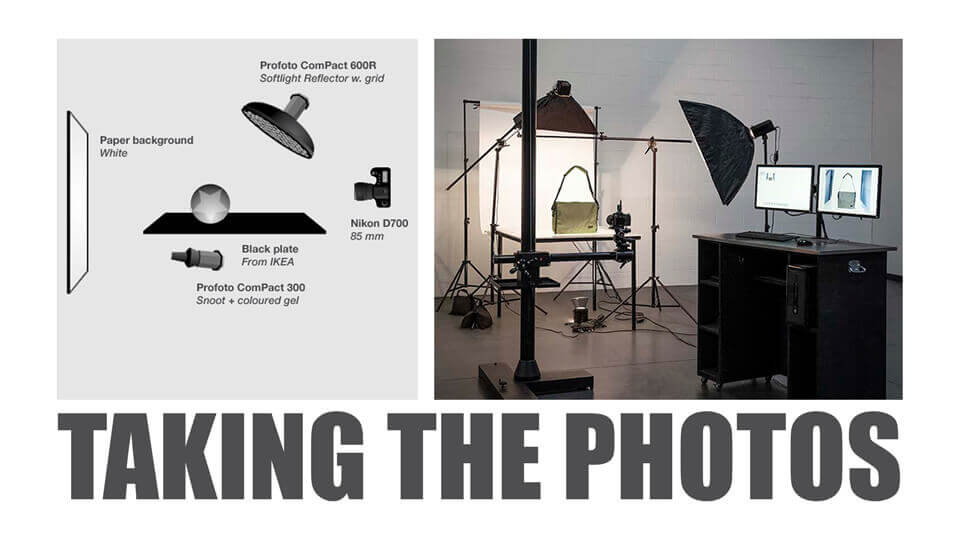
Product photography for eCommerce requires a lot of resources. You would need a white background along with adequate product photography lighting. Besides, you need a tripod along with the camera that you are planning to use. You have to procure all of this gear in advance so that there are no hiccups in the photo shoot.
Once you procure all the equipment, it is time to set it right. The white background will come behind the product space. Similarly, the lights need to be on one side of the product and the reflectors on the other. The product photography setup should be near a window so that there is ample natural light as well. You have to set up the DSLR or the smartphone on a tripod so that you get proper stability. The position of the tripod and its height will be dependent on the type of product which you are capturing and the photos and angles which you need.
Once you go through the planning stage for product photography for eCommerce stores, it will become easy for you to capture brilliant photographs for your store without any delay. The next section will highlight how you can click the best pictures in a single session.

Now that you have got the entire setup and have planned your photoshoot, it is time to take action. The section which we are highlighting now will help you understand how you can take breathtaking photos of your ecommerce products. It will also highlight the step-by-step progression of the photoshoot so that you can capture the pictures with ease.
You need to first begin with the product only shots. You have to be as detailed as possible. Depending on the product, you might have to take shots from different angles or a single angle. When clicking the photos, you need to take as many pictures as possible of each product from various angles. You will be picking the best from the lot.
The aim is to provide the most accurate representation to a prospect or customer through photos. You have to capture the individual pictures of a product in a single go, and you should not skip clicking photographs from any angle for a later session. It will ensure that you can capture the photos of the product under the same light conditions. Once you have completed the product only shots, you can progress to the lifestyle shots.
You might be wondering, what are lifestyles photos?
Lifestyle photos highlight the actual application of the product which you are trying to sell. It might require models or mannequins. They are contextual photographs of your products. They help the consumers visualize how the products would look on them or how they can use the product. That is why, they are great sales boosters. So That is why, once you are done with the individual product photographs, you should then progress to the lifestyle ones.

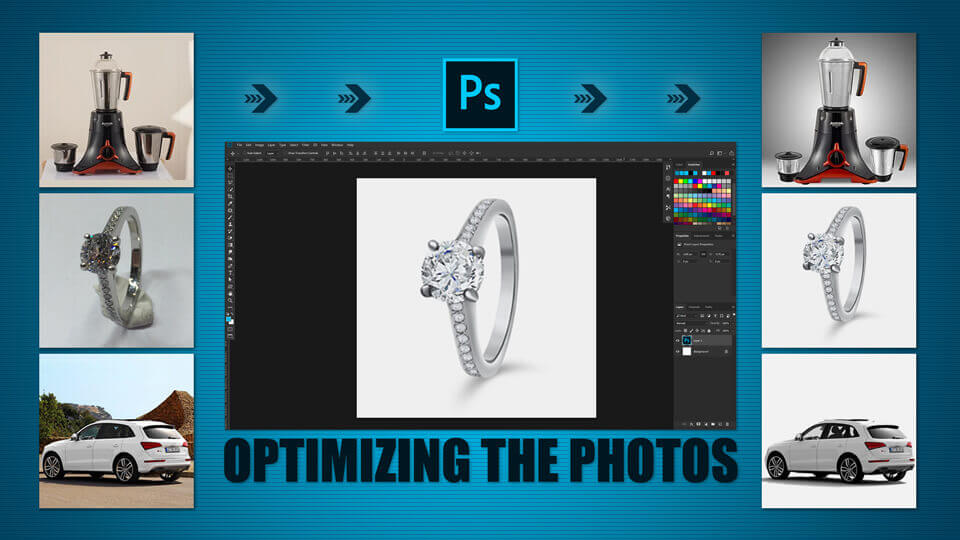
Without proper optimization, you cannot make your product photos stand out. In this section, we will help you understand the necessary steps which you can undertake to optimize the product photos properly. No product photography for ecommerce stores is complete without optimizing the images. That is why; you should not procrastinate on this step or ignore it.
When optimizing the photos, the first thing which you can do is remove the background. It will ensure that the focus of the customer is only on the product. Removing the image background also means that irrespective of the template or the layout of your website, you can integrate the image easily. It will not clash with the website background.
The best tool which you can use for the same is Adobe Photoshop. There are a few other background removal tools online as well, which you can use. However, Adobe Photoshop is the most effective way to remove the background. It is an essential step which you need to accomplish before you opt for further optimization.
What do we exactly mean by the image size?
No, we aren’t speaking about the image dimensions. We are talking about the file size. If the file size is quite large, your website will be slow to load. More so, your website will not be mobile-friendly due to high loading time. In both cases, you will lose visitors, and therefore the revenue of your ecommerce store will go down. The best way to reduce the image size is to use the Save for Web option under the export section of Photoshop. It will help you retain quality while reducing the file size. As a result, it will become easier for you to make your website loads faster on computers, smartphones, and any other device.
As we are talking about product photography, we have to mention the image requirements that ecommerce sites have. We all know online websites like Amazon, eBay, Walmart, Flipkart pretty well. These are the top ecommerce website where every business owner wants to sell their products. To be able to do that, you have to maintain some image requirements that not only these but also many more ecommerce sites have. Following these requirements are important because these help your product to be more attractively visible to your consumers.
The template here refers to the dimension of the image. For example, if your product is shoes, you cannot opt for dimensions like 160 x 600 pi (W x H). You have to for something like 720 x 300 pi (W X H). However, the same 160 x 600 pi (W X H), would be suitable when the product is a bottle of wine. That is why; the size of the image will be dependent on the product which you are selling.
You have to choose between the portrait template and the landscape template, depending on the product. The portrait one is suitable for vertical products where is the landscape one is suitable for horizontal product display. Both of them provide you the option to alter the dimensions to a certain extent so that the image size is appropriate for your product. You need to choose between these two templates to ensure that you display the product image in the right fashion.
These are the three necessary tips that you need to follow to optimize the photos. Also, you can apply filters or change the contrast and brightness of the photograph as well. However, it is not necessary since you have taken the photos in proper light conditions.
Thus, if you are looking for a product photography tutorial that will help you capture excellent photographs for your ecommerce store, you can follow our guide above. With the help of this DIY guide, you can click the right pictures in a single photo session.
It will not only save you a lot of time but also money since you can capture the photographs by yourself. The product photography techniques highlighted above will help you learn professional-level product photography for eCommerce without burning a hole in your pocket. So, it is time to act now and capture some great photos for your eCommerce store.