How to Sell Online Without SSN? No SSN, No Problem!
As a minor or a temporary resident, it could be difficult to sell online without a Social Security N ...
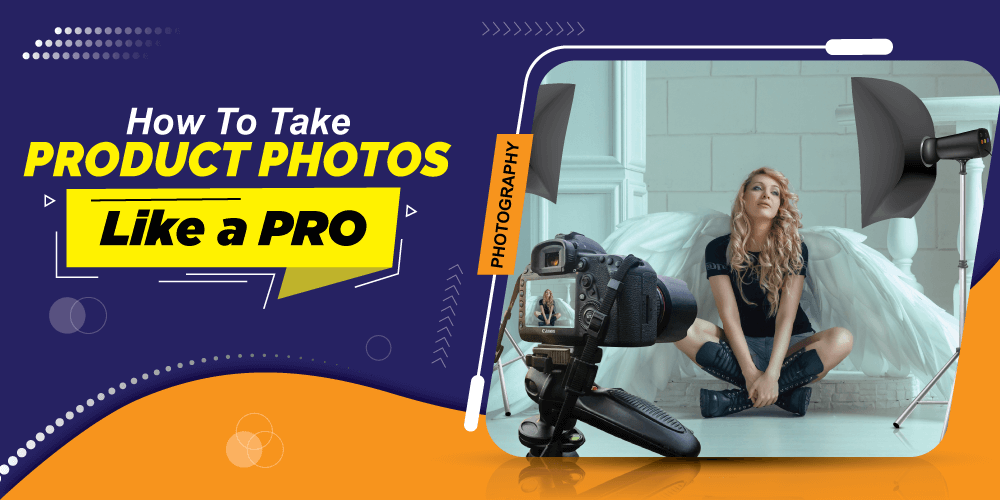
While taking product photos one question that all of us have is, “will my product photo look impressive?
Because a product photo is the one thing that consumers will look at before anything else while purchasing the product. And if they find any flaw then it will take no time to change their decision of purchasing your product.
As a beginner, every photographer wants to know how to take product photos like a pro but very few can crack the code of capturing photos like a pro.
To Be able to capture product photos like a pro is not something like rocket science that you can’t do. By keeping some photography gears in the bucket and mastering some photo capturing techniques you can also shoot like a pro.
Let’s go and know about the photography gears you will need and after that, we will talk about the photography techniques.
Here are some of the major photography equipment lists that are compulsory to take product photos like a pro.

There are no shortcuts then using a good DSLR camera for product photography. The good thing is professional cameras are getting cheaper and cheaper day by day. With a professional camera use a decent lens also.
If you want to take impressive product photos then this can be a great trick for you as most of us might think using a less expensive camera and spend some extra money on other equipment.
So use professional cameras and lenses to take impressive product photos.
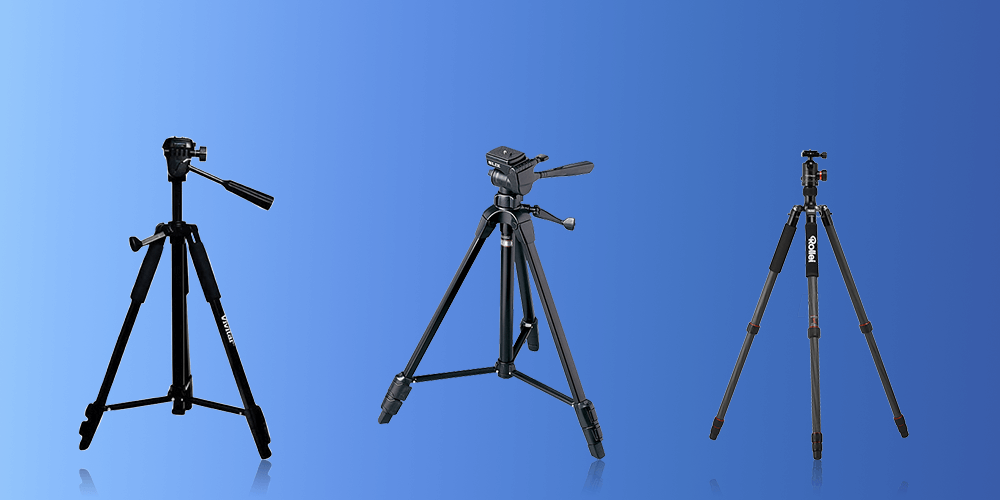
In product photos capturing detail matters a lot and in product photography we will require to shoot with longer exposures. But the problem with longer exposure is that the photo gets blurry if we shoot holding the camera in our bare hand.
That’s why we must use a tripod to get a clean and clear photo. While buying a tripod look for sturdy ones and if possible go for upper mid range ones.
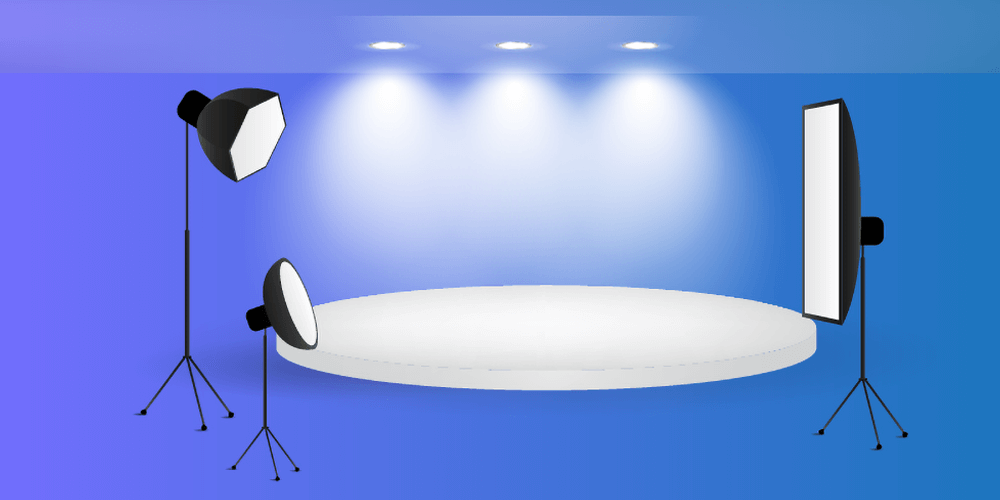
Using photography lighting requires expertise and also a handsome budget. As we are going to learn how to take product photos without using expensive photography equipment kits, i would suggest you to use natural lighting for your shooting.
If you are looking for a free option then you can follow How to Take Product Photos with iPhone
You can shoot outdoors to get natural lighting but if the lighting is a bit excessive for you then you shoot in a room with large windows.
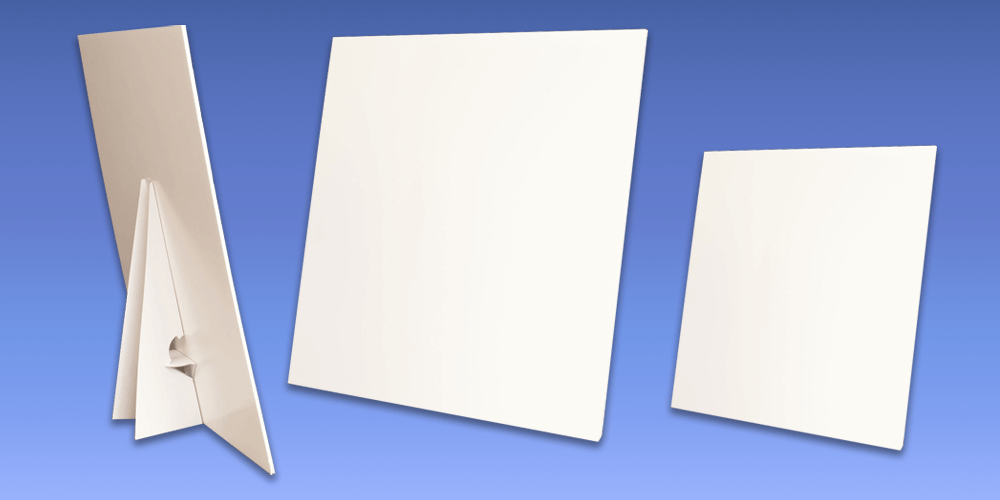
When the photography lighting setup is complete now you need to set up bounce cards. These instruments help you to reduce harsh shadow from your image. Bounce cards also can create shadow if you need.
To create shadow you will need to use black bounce cards and to reduce shadow white one is perfect.
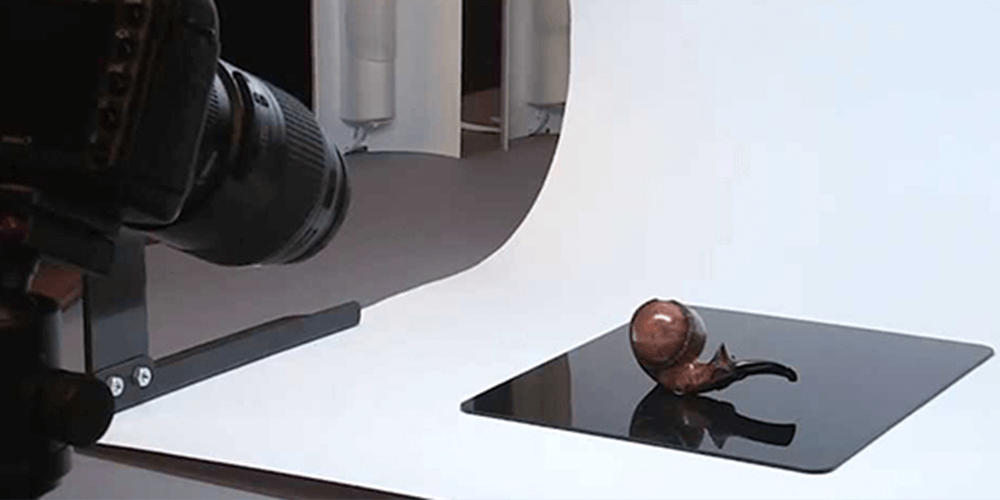
Go for a sturdy surface for your product photography. It can be a table also if you work with small products like ornaments, stylish bags etc… You can use portable tables as well to carry it out whenever you require.
These are not for your product but for your backdrop set up. Your backdrop needs to look clean and clear and to make sure that happens use tape and clamps to hang it tightly.
This is the most important thing in product photography. The background of a product photo must be in solid color and white is preferable one among all the solid colors. So use white solid color background in your product photo.
If your products are small then you can go for a soft box which you can make on your own. You can DIY light box using some simple and cheap materials.
Now that we know what photography equipment we require to take product photos like a professional photographer, it’s time to go for the real action.
I will walk you through with some simple steps that if you follow correctly then you will be able to capture impressive product photos.
Capturing professional photos is not a thing that you will do in a day it requires years of practice and knowledge. Setting up the stage where your product will stand is very important.
If you are shooting indoors then select a space near a large window so that you can get enough lighting to work with.
I already said to use a sturdy surface or table and to make the table sturdy place it against a wall. When you are working with natural lighting avoid using any artificial lighting.
If you are shooting outdoors then avoid direct sunlight falling on your frame or harsh shadow will appear in your image.
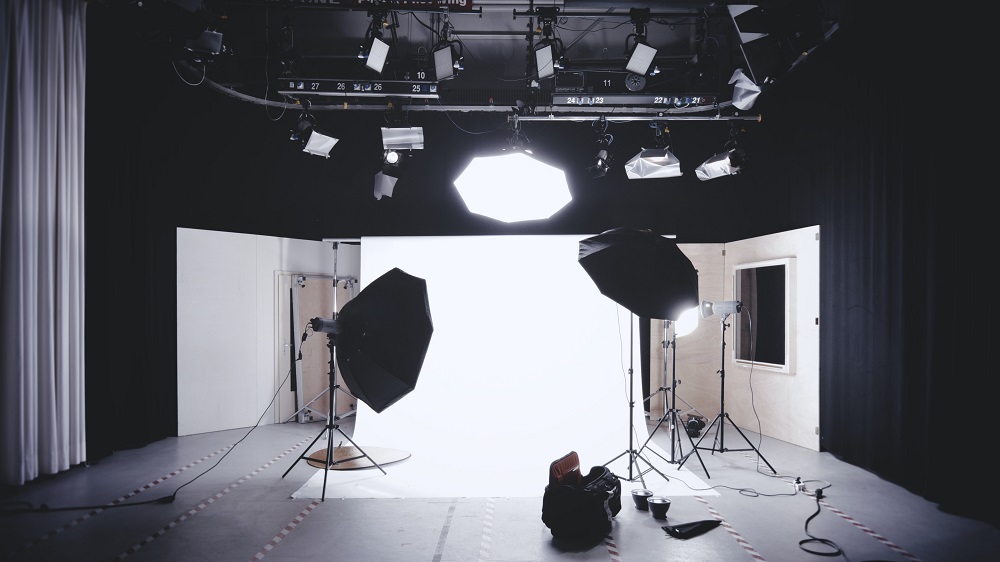
According to many famous online stores or ecommerce platforms, a solid white background is the only backdrop that product photos should use.
Because in product photos consumers must get to see what they are purchasing and white background product photos allow it perfectly.
Based on that, platforms like amazon, ebay set their image requirement for product photos and made it mandatory for retailers to use white background in their product photos.
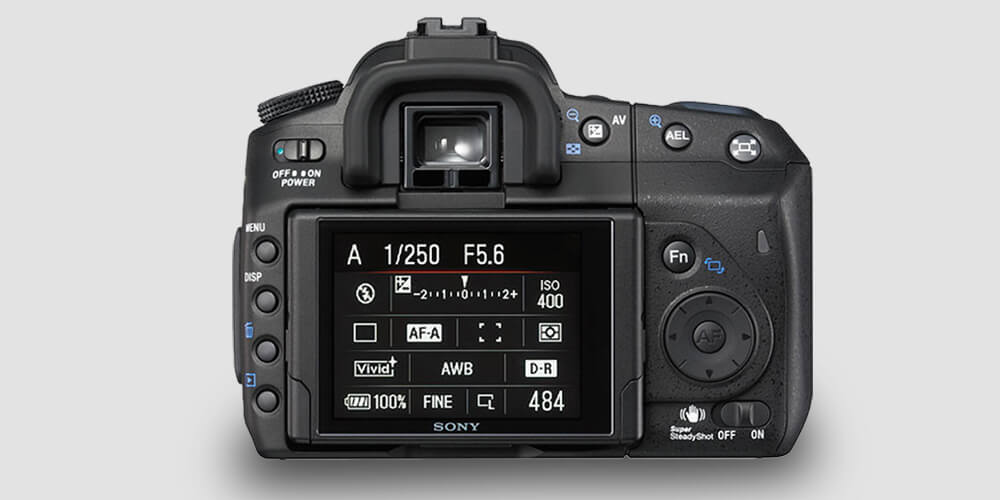
To be able to capture great product photos you also need to tweak your camera settings a bit. Three camera settings that we should tweak for our product photo editing.
White balance should be in auto mode, keep the ISO between 100 to 200 and aperture to f/8. You can play with the settings and see what works for your setup.
Placing the product in the right way can make your product photo better or vise versa. Try to place your product in the middle of your stage and then frame it. Face the side of your product to the camera that highlights the best features of your product.
Controlling shadows is important and because of that I already mentioned about bounce cards. After setting up the stage and placing your product into the frame fix the shadows using bounce cards.
As we know practice makes a man perfect and it is not any different in photography as well. To see your lighting set up and your framing is okay or not take some practice shot and fix if you need.
It’s time to take real shots of your product. Here I want to tell you about a simple trick. Do not take one shot or shoot from one position. Change the position and take multiple shots of your product because you don’t know which one comes better until you upload your images to a big screen.
This is the last step of making the image look premium but this is where you can make your product image from a better one to an impressive one. Product photo editing is something that you shouldn’t take easy at all.
Because only making your product image gorgeous by retouching it isn’t enough. You have to edit your product photo by following the image requirements of eCommerce platforms.
Last Thoughts
Taking product photos like a pro is not only capturing it with a professional set up. To make an image look professional is a combination of professional capturing and creative image editing.
Yes, you can take product photos like a pro with a small budget but to do that you need to practice day and night. I hope this article of mine can prove to be a help in your product photography and you can take your product photos like a pro.