


How to Sell Online Without SSN? No SSN, No Problem!
As a minor or a temporary resident, it could be difficult to sell online without a Social Security N ...

Want to capture great property listing photos? Master the skill of real estate photography first. That’s why you must learn how to take good real estate photos.
In the upcoming sections, I want to talk about real estate photography. In addition, I will go on what you need to start real estate photography. What is last night’s preparation for? And how to avoid key mistakes. You get all of them in one place. According to media listing statistics, 85% of the buyers say real estate images play a vital role in diction making.
You have plenty of equipment to cover up before starting working on any real estate photography project. If you have these in hand, everything would go smoothly.

Tripod is like bread and butter for any perfect photo album. It helps you to make the image as stable as possible. It eliminates motion blur and lets you get a “decent sharpness”. As a result, you get to keep consistency in your photos. So, make sure the tripod is in your shooting kit.
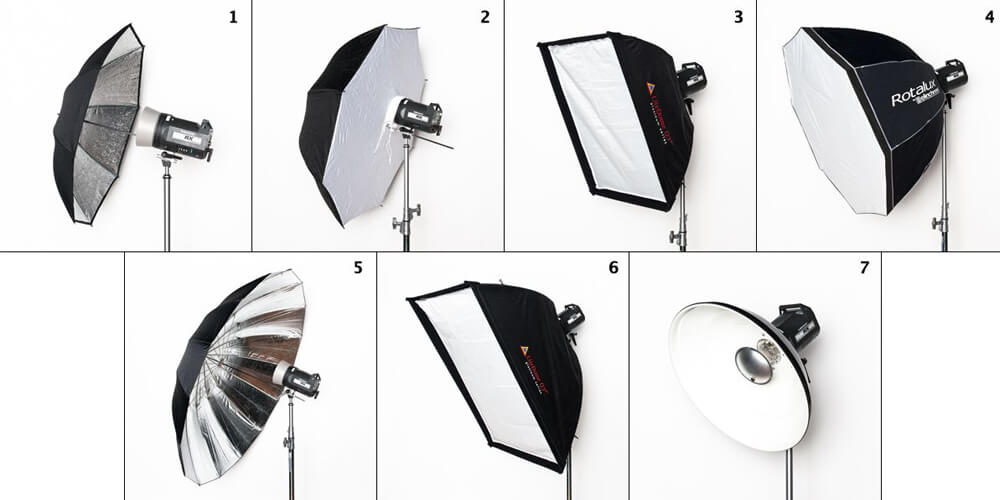
The light modifiers let you modify the lighting of the room. These modifiers could be a photo umbrella, reflector, diffusers, and others. You have the option to use any of them. And these tools come in handy when the natural light or flash is not working right.
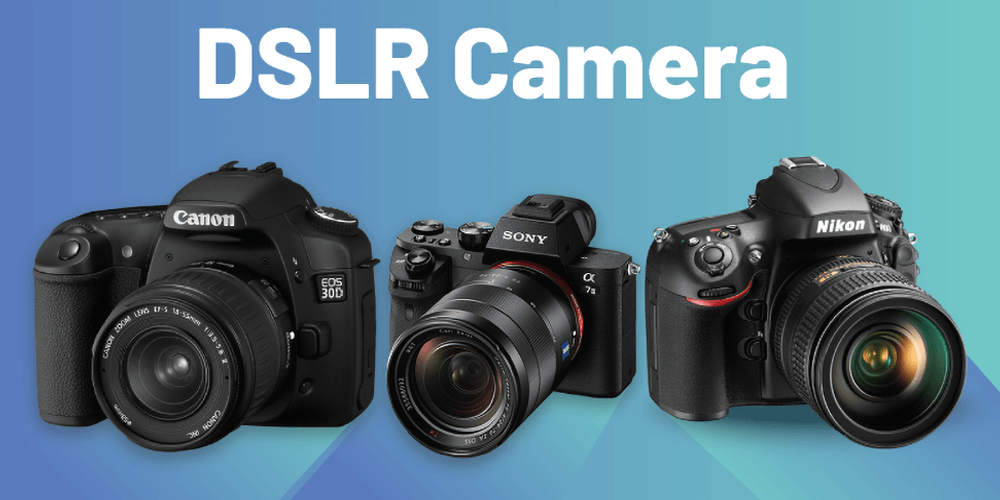
When looking for a camera, go for a mirrorless DSLR camera. You have to make sure you have a full-frame lens. All of these would let you capture the photo you are looking for. Brands and cameras like Canon EOS R, Nikon D850 are the best cameras for real estate photography.
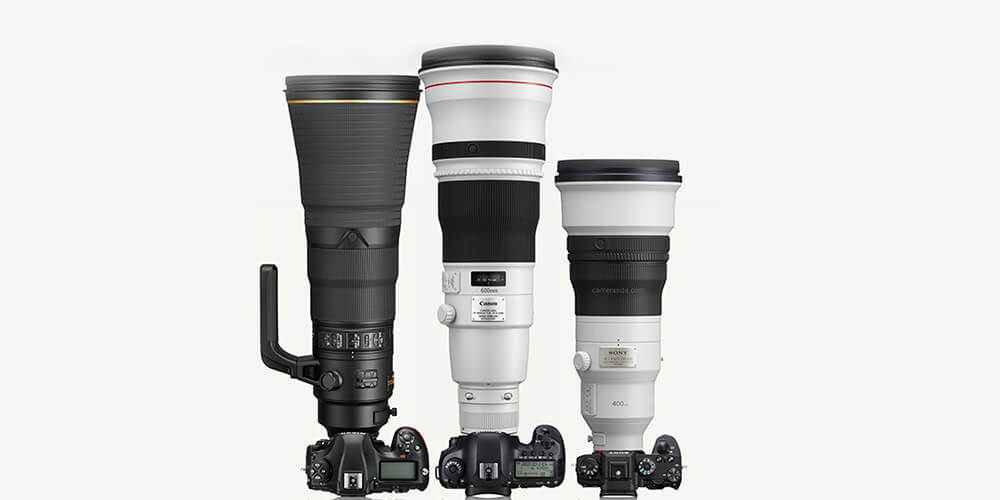
For real estate photography, wide-angle lenses are essential. A Wide-Angle lens makes your shooting space look wider than a normal lens. It would help you to get the whole room in one shoot. Meanwhile, it also makes your image more appealing than ever. Lenses like Canon EF 16-35mm would work fine.
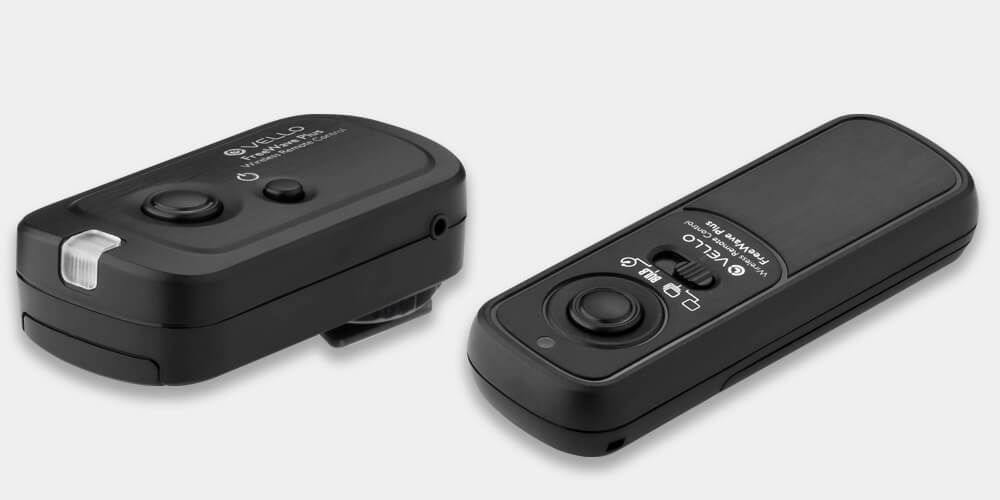
It’s a simple yet useful tool for anyone shooting real estate listing photos. It lets you trigger the shoot button far away from the camera. If you have a low ISO camera, the following tool would help you to get rid of any blurriness during clicking the photo.
Preparation is a must for a positive outcome. This is why I am mentioning some key steps you should consider before a photoshoot.
Last night’s planning is rock-solid and important for you. Because it’s the time that decides whether the photoshoot would be good or not. One piece of equipment went missing, you have to start all over again. So, pack all the equipment and tools. Also list lights and flashes you will use. Save the map of the real estate itself. And also make sure the camera is in the right setting.
These are the numbers of photos you should consider for each section of the house:
To take a better real estate photo, you must follow the below-mentioned steps. So, let’s take a closer look at these steps:

First off, once you have got into the real estate location, jump in and look around. It would be best if you take a short walk around the real estate.
Doing so would help you to detect sweet spots of the property. Take some time, don’t be in a hurry. Trust me or not, your processes would get simpler than ever.
Markdown the spots you would like to place your camera on.
After completing the “look-around” process, it’s time to take awesome listing photos.
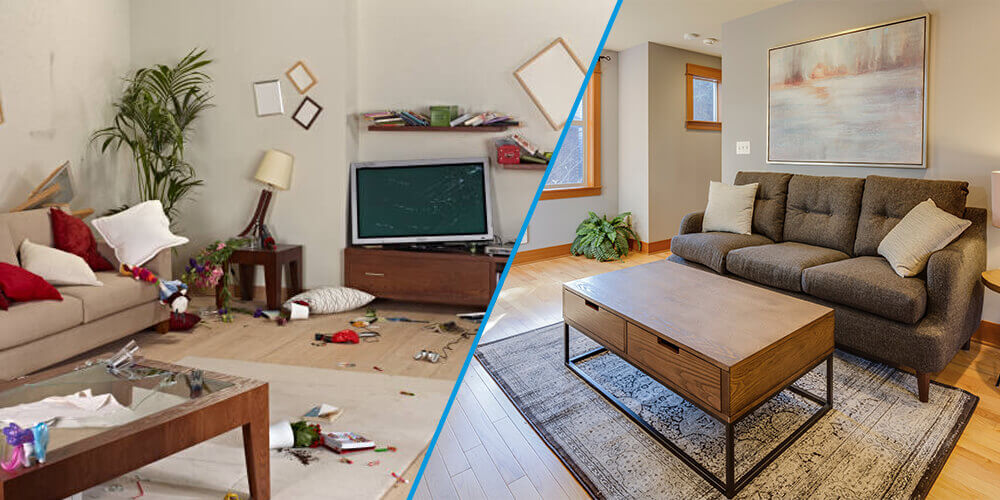
As house owners, we don’t notice small objects cluttering our space. But, these small objects can appear clear in photos and make them look messy. What’s the solution then? Declutter as them all.
Detect all the extra objects from the room you wish to snap on. Remove these from your scene.
Even if the owner says, “I have cleaned everything up”, you must do it yourself.
If you plan to use prop though, stay minimal. Keep it between 1 or 2 props per photo.
These tips would assist you to start your shooting process.

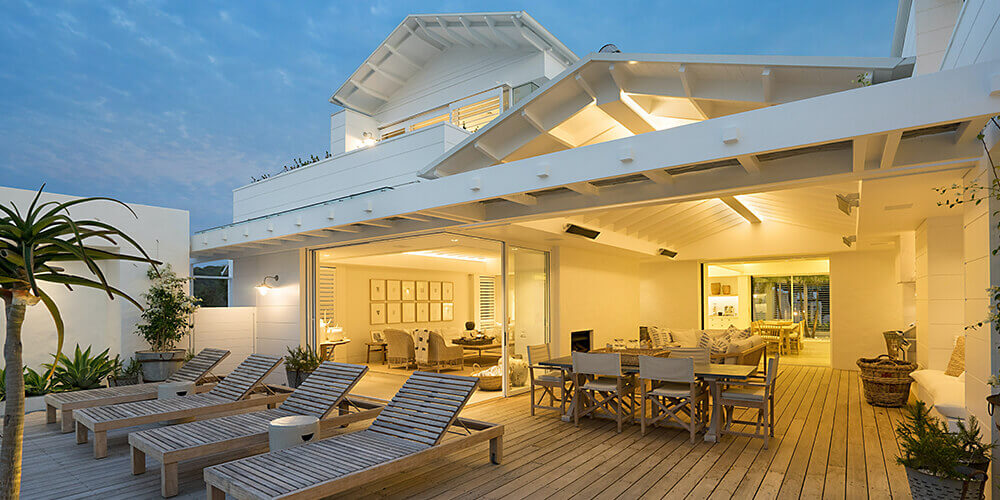
When you set up a room for shooting, lighting is a key element to consider. And you have only two options to start. It’s the natural light and the artificial lights.
When you start arranging the room for shooting, open up all of the windows available. If the lighting is enough and creates a warmer space, go and start shooting with it.
But if natural light is not available, use artificial lights. You have options like flashlight, umbrella brackets. In addition, the diffuser would also work fine.
The RAW is an image format that would be best for your real estate photography. Because it stores the highest detail of any photo. And it’s beneficial for post-production.
One thing to remember, the RAW file format is typically large and hard to transfer and upload on the web. It always needs some sort of post-processing.
If you need an instant uploading process, use the JPEG format which is lightweight but it does not preserve all the details.
Lastly, I am suggesting you shoot in RAW. It’s perfect for any commercial project.
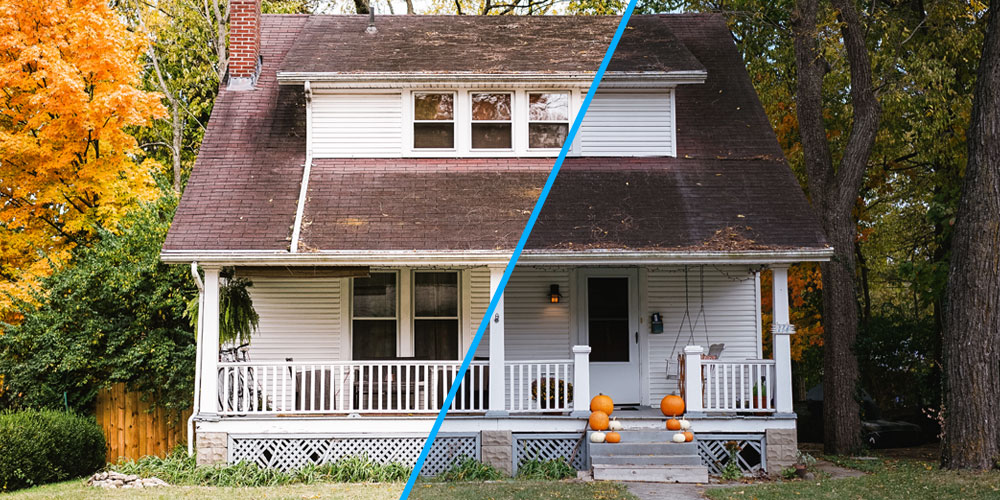
The last process of real estate photography is to capture the exterior of the real estate itself. to get a perfect photo of the entrance, and the whole house, light up all of the lights possible.
Lighting up the house arena would provide you a warm and welcoming vibe.
In case you are shooting in the daytime, you must fix the lighting in post-production. It’s a must for you.
You have certain drawbacks to avoid while taking real estate photos. Don’t commit these ever again. Here’s a sneak-peak of these:
You must have a contract beforehand. It’s not hard to create but gives you a lot of advantages.
As a beginner, going for a real estate photography contract template would be nice.
In case you are busy with your schedule, book the shooting date in advance. It would let you mentally prepare for the shoot. Time management is key for successful real estate photography.
It’s the most important factor you should keep in mind. On one hand, Great editing makes you win clients. On the other hand, poor editing does not help you at all. The optimum way to get a great-looking real estate photo is to outsource it to a real estate post-production firm.
Look, taking an impactful real estate listing photograph is the key to selling a property. But, don’t take pressure either. Take your time and continue your photography process one by one.
Once you complete your photoshoot, try to edit them perfectly. It would make your captured real estate come to life. If you are in a commercial project, go for a photo editing agency. The result would be mind-blowing. It makes your client happy. As a result, you get a fantastic testimonial.

As a minor or a temporary resident, it could be difficult to sell online without a Social Security N ...

Are you looking for the best way to enhance your Amazon product listing to stand out among the compe ...

Tradexcel Graphics is a creative boutique video production company with a track record of making awa ...

As the decades go by, tech and communications are increasingly becoming intertwined with our life. W ...