


How to Sell Online Without SSN? No SSN, No Problem!
As a minor or a temporary resident, it could be difficult to sell online without a Social Security N ...
You can increase Poshmark sales with a better product image. For instance, shop owners who know how to take pictures for Poshmark get higher returns.
As a shop owner on the Poshmark, you could leverage the option of product images. As a result, you must learn the techniques that entice web visitors.
Better product photos lead to more pleasing reviews and feedback from the buyers. Hence, the visitor could get less friction while checking for details of any items.
Let’s get deep into taking pictures that perform excellently on Poshmark.
Want to get into how to take good Poshmark photos? Let’s get into the details of taking the pictures for a Poshmark. These steps would be a lot of boosting for your Poshmark product listing. It helps you to create quality listings that impress your web visitors.
First, you need to clear the fabrics or the shoes before starting the photoshoot process. Hence, following these options would ensure it provides the best results possible. Plus, it ensures a proper structure.
Even if the fabric of the shoe products is relatively new, clean it up. It helps to make items look good on the camera. Further, you get the most sparkle on the images. Hence, cleaning items correctly and preparing them for a photoshoot.
The composition of the Poshmark listing images is a lot crucial. It must be simple and easy to go with. Don’t overcomplicate your photography listing composition. With minimal design, your product images would get the most attention. Images with simple backgrounds perform great.
On the other side, don’t forget to add some custom props to your photographic composition. It would bring a personal touch to your listing photos. These photos attract a higher number of customers to your listings. For more concepts, brainstorm Poshmark background ideas.
When considering the background, always try to be minimal. The background should be free of any destruction, which is why sellers on Poshmark prefer a simple white background. You could use a white cart board to set as a background. Be sure the background color is pure white and has no spots.
Apart from the white background, be a bit creative with the background. For example, place your products on a green grass surface and have a great photo. Don’t go overboard with backgrounds, as it can get distracting. Try to be simple when staging the background.
Lighting can make a huge difference in your product photography set. First, use natural light to get better lighting. But, when the natural light is low or the day is cloudy, custom lighting is better. If you want to go for custom lights, set up a softbox or any LED light.
While working on the lighting, don’t let any shadow stay on your fabric product. Make sure even light goes to every spot of the fabric. It appeals to your web visitors and proves your store is trustworthy. Further, use one or two continuous lighting on the item itself to make it even lit.
While setting up the camera, make it a square size or 1:1 ratio. Because whichever product photo you upload to Poshmark cuts it into a Poshmark photo size which is square. Your camera setup and height should be mindful of the squire frame. Anything beyond the line would get cropped.
To maintain consistency within your photos, use a tripod. A tripod works best for product photos among all the camera stabilization tools. While capturing your items, you could lay them on the floor and point your camera at them. It’s an effective technique to go upon.
Taking multiple images of the same product would provide you with the perfect outcome. Use a different lighting setup to experiment with. With multiple images, choose the best image out of all. Apparel and shoes can provide different results on different angles as well.
But while taking multiple shots of the same image, make sure to don’t spend too much time. Only two or three shots will be enough to let you select the ones which look good. It’s a well-known technique most of the product photographers use.
Forgot to capture an image in a squire mood? Fix it with photo editing apps. Moreover, if the image doesn’t have enough lighting, better prepare it for the post-production phase. Editing and polishing your photos are a must when it comes to online buy-sell platforms like Poshmark.
As an eCommerce photo editing app, install and open Aviary, Square Ready. But, in case you don’t find the best app, iPhone users can use built-in photo editing apps, which works fine.
Related: How To Get More Followers On Poshmark
Photographing products with tricky surfaces can be a hard task to come upon. You need to take some extra steps to get proper results. Taking proper steps would make sure a smoother photography process. Let’s get into the techniques right now.
Many fabric products can have shiny surfaces, ornaments, or glitters. In such cases, try to turn off unnecessary light sources. Moreover, don’t use a direct flashlight to spoil the image the right way. Further, avoid wearing any white or shinier shirts as well.
Diffusing the lighting can help as well. Apply cloths or similar objects to diffuse any direct lighting. When using natural light from the window, place white clothing to make it a bit soft. As a result, your shiny handbag, clothes, and shoes would look sublime in the pictures.
Glittery items such as shoes with jewels are still trickier objects to photograph. The first thing you could go on is to use black clothing background. It would avoid any unnecessary sparkles and reflections within the image.
In addition, you need to use creative lighting to make the product glitters and sparkle. Improving the sparkle can make the image look more appealing. In addition, it improves the look and makes the fabric or shoe a lot more luxurious. As a result, it improves your Poshmark sales.
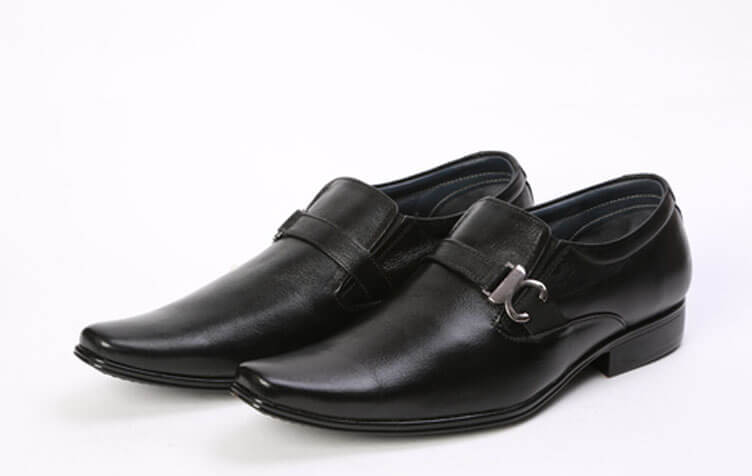
Leather items might seem easy to photograph, but it’s a bit hard to figure out. The best option is to use a diffused light at the top of the leather products. If the photo of leather items still does not seem lit, put a lighting source close to the leather item itself.
In addition, use a reflector to make the leather surface look a bit better lit. When setting up the reflector, place it to the opposite side of the low-level lighting source. Many leather photography experts prefer the following technique to make their items attractive on the lens.
Read More: How To Delete A Sold Listing On Poshmark
You could use the below-mentioned editing steps to improve your Poshmark photos. These actions can provide the best results, even in bad photos. The editing process can be tricky, but all professional photographers use these editing tasks.
Note: while editing photos, don’t change the product’s appearance. The main motive for editing images is to make them look better. Hence, don’t go beyond the board to alter the appearance of the actual item. Get into the product photo editing service if you don’t want to mess up.
Within the Poshmark, we get to see two different sorts of photos. The first is the cover short, and the other is called the detailed photos. Learning the purpose of these photos can lead to better photographs.
In short, the cover shot features the first image visitors get to see. It’s important to make your cover shoot image highlighting and appealing. Because it provides the most impressive amount of your products, make sure to make it as attractive and eye-catchy as possible.
As the name stands for, the detailed photos get a detailed image of products. Try to capture different angles and be a bit creative. Further, add a detailed close-up shot as well. These photos work as a supporting image to the cover shot.
Let’s get into other questions which may arise while taking photos for Poshmark.
Many Poshmark sellers prefer to use built-in cameras other than the Poshmark app. Because the app can make product photography a bit harder, built-in camera apps can provide you with a bit of flexibility while taking photos.
Adding measurements to the Poshmark listing is not mandatory, but adding them up can help the audience. As the Poshmark doesn’t offer return facilities, be sure to specify the sizes of clothes within the listing. It helps you to avoid buyer dissatisfaction and improve positive ratings.
Sharing on Poshmark means sharing a closet with other users. In platforms like Poshmark, sharing can improve the visibility of your store. As a result, it results in higher sales and revenue for you, which is why you could share on Poshmark.
Learning how to take pictures for Poshmark can help you get higher sales. As product images greatly impact the customers buying diction, it’s a crucial task.
Hence, it is helpful for your store from all perspectives.
You should prepare yourself to create compelling product listing photos. It’s often out of our consideration, and it should not happen.
Take enough time and start optimizing your images. Many store owners have followed these steps and got amazing results. So, start following these steps now.

As a minor or a temporary resident, it could be difficult to sell online without a Social Security N ...

Are you looking for the best way to enhance your Amazon product listing to stand out among the compe ...

Tradexcel Graphics is a creative boutique video production company with a track record of making awa ...

As the decades go by, tech and communications are increasingly becoming intertwined with our life. W ...