


How to Sell Online Without SSN? No SSN, No Problem!
As a minor or a temporary resident, it could be difficult to sell online without a Social Security N ...
Starting a business from scratch isn’t easy. On top of that if we talk about eCommerce business then you have to compete against highly experienced marketers and brands.
As a beginner, you are on a tight budget and so you have to walk on a budget-friendly path for your business strategy. You are constantly searching for marketing materials that you can acquire for free or equivalent.
If you want to sell products online then this goes the same for product photography as well. If you don’t have the budget for a professional photo shoot with a DSLR camera then you have to come up with a budget-friendly option for it too.
You are in luck because photography using smartphone cameras is becoming more and more popular so companies are giving more effort to make the smartphone camera better than before.
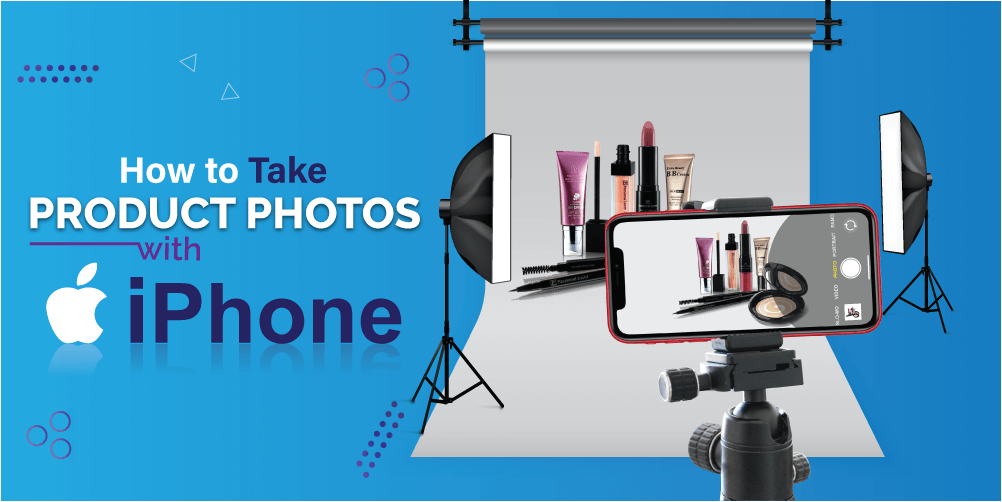
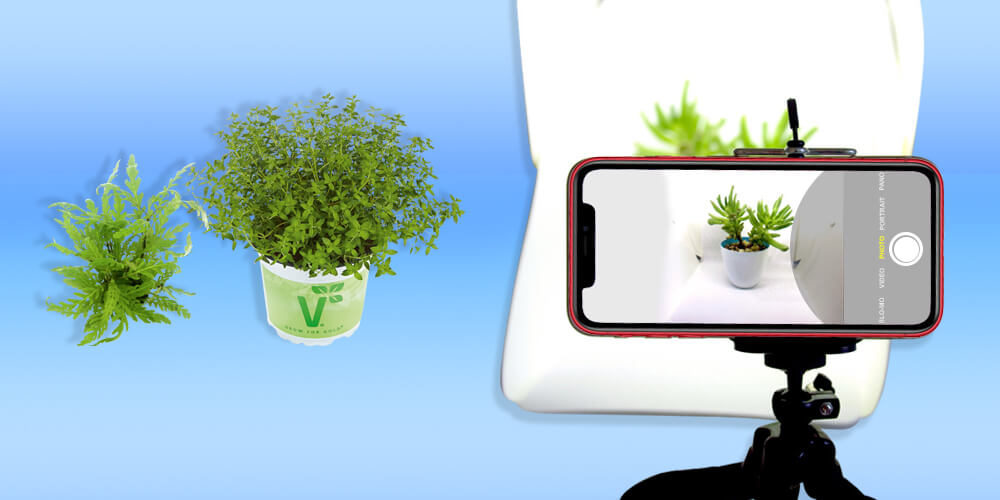
Now you can capture great photos with your smartphone also. I know you can guess where I am going with this and yes you are right. Today I will show you how to take product photos with an iPhone or any other smartphone.
I will focus on iPhone photography in this article so if you have one you will be able to shoot your product almost for free. but if you are planning to use these photos on your website then you should learn How to take Product Photos like a Pro

the iPhone is getting better and better every year. With every new addition to their iPhone, Apple improves its camera and sets a high level of standards for phone photography.
I would suggest you use the latest edition of the iPhone to get the best photo of your product. You can also use the previous version of the iPhone but not more than two which means the latest version of the iPhone running in the market is the iPhone 12 but you can use iPhone X for your product photography as well.
As we are going with budget-friendly product shooting here we will also go for cost-cutting photography equipment photography. So we will use as little equipment as we can.
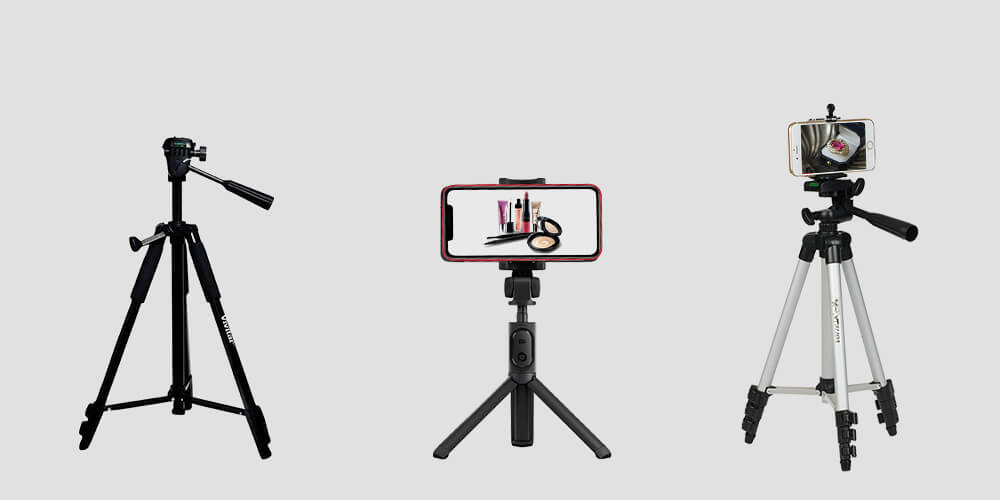
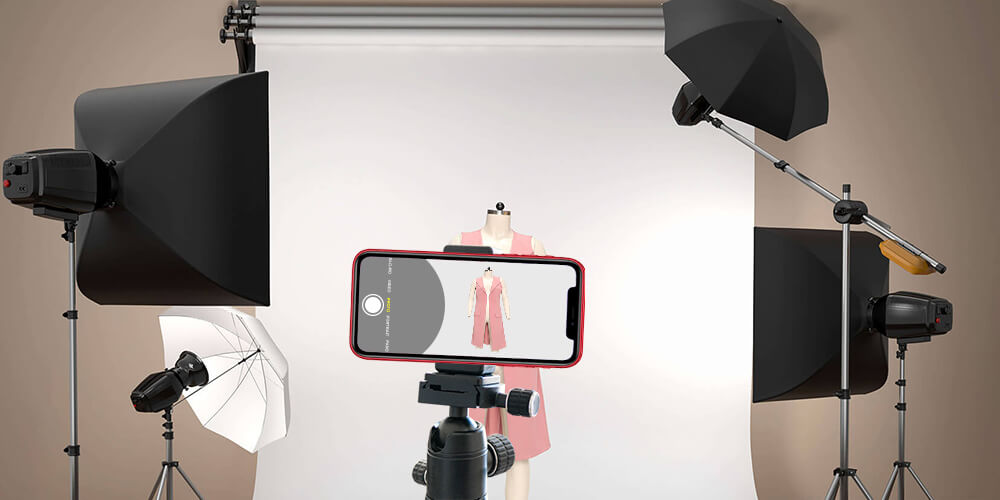
In this list, the tripod gets the first priority and you should not only use it but also consider using it always. Why use a tripod? And what are the advantages of using a tripod?
Well, you may think that if you are going to shoot with your smartphone then why not just pick it up and start shooting. Yes, you can do that but as you are going to shoot your product to impress your consumer then every detail matters.
Human hands are shaky which can create blurry and grainy photos. Though you can fix grainy photos in photoshop the detail that is required to produce an impressive image will be missing.
Tripod keeps your iPhone steady and lets you capture full detailed photos of your product. We have so many variations of tripods that we get confused while picking the right one. So what type of tripod do you need for your product photography with an iPhone?
You will require a small size tripod as you will be shooting small products because with smartphones it is difficult to shoot large products. But this does not mean you can’t shoot large products with an iPhone.
If required you can shoot a large-size product with a suitable setup.
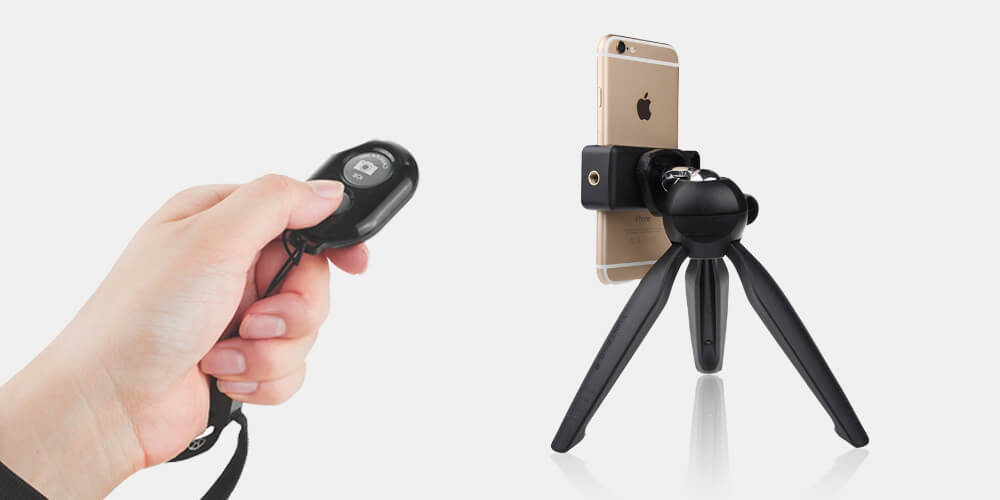
I am talking about Bluetooth camera remotes. A wireless camera shutter is very useful for product photography. Your smartphone may shake while you tap on the shutter button on the screen and this can cause blurry images. Lack of sharpness will create a loss of interest in your product.
With a wireless camera shutter button, you can shoot without touching your smartphone and avoid all of these happening.
For product photography, there are a couple of preparations for the set that you need to do. As we will be uploading our product photos online following the image requirements is important. That’s why preparing the set according to the requirement is essential.
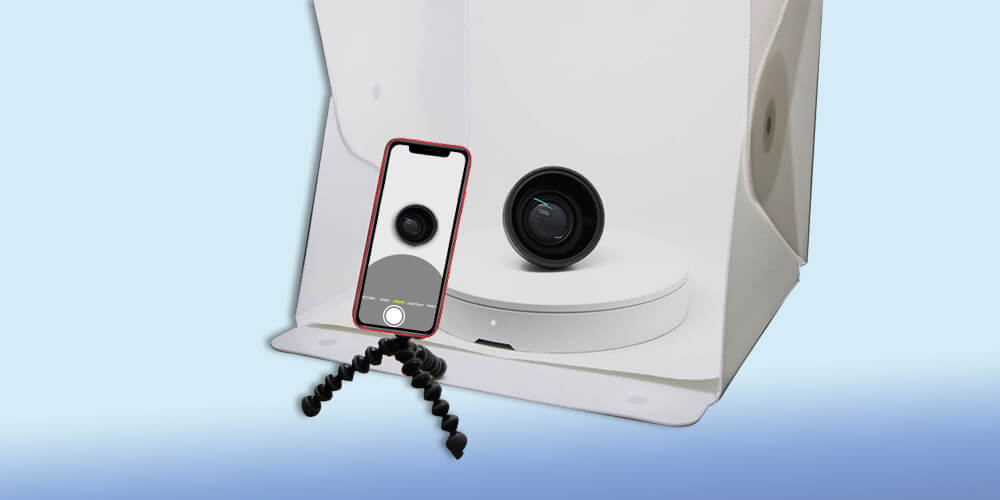
While setting up the stage for the product photography backdrop should be simple and solid white. Using solid white or gray background reduces the distractions and focuses on the product.
Solid color backgrounds are always perfect for product photography. Use a white solid backdrop in the background and also on the surface to fill out your frame. White smooth paper is a good choice and easy to find at any photography shop.
White craft paper or fabric could fit, too. Make sure you have a bigger backdrop than the picture and complete the whole picture so that you don’t have to join.
As we are going with a budget friendly approach for this product photo shooting, there will be no difference for photography lighting as well. There are two types of lighting one is natural and the other is artificial.
For natural lighting, you don’t need to spend any penny but for artificial lighting, you will require to buy accessories.
For small-size products, you can purchase a softbox. Softboxes are especially appropriate for product photography. If purchasing a softbox exceeds your budget then you make one on your own.
You can DIY a lightbox using cheap materials like waste parts box, scotch tape, white paper for a backdrop, led lights for artificial lighting.
You can check our softbox making article where I showed how to make a softbox for product photography
If you want to shoot in natural lighting then just pick a table or chair and cover it with white paper or cloth as the background and place it anywhere in your room filled with natural lighting.
Things You Shouldn’t Do
While photo shooting products with iPhone there are a couple of don’ts to improve the product photos.
The pre-product photography preparation is over so it’s time to go for the action. Shoot multiple photos for one product so that you can use them if anything goes wrong with the first photo.
While shooting you have to tweak the White Balance, ISO, and Shutter Speed a little bit to avoid getting over-exposure photos.
Play with the camera setting, use different ISO, shutter speed, and white balance to find the exact match for your lighting. Use pro mode and capture RAW photos.
Practice! Practice! Practice! Rome wasn’t built in one day so to capture perfect product photos with an iPhone you have to practice a lot.

Capturing the product photo isn’t the final stage. Photos from the camera aren’t usable for eCommerce stores as they have some product image guidelines to impress the consumers.
Image post-processing is a field where you can make your product photos flawless. You can do it for yourself or you can hire someone or any agency.
Using Adobe Photoshop CC edit your product photos by following the image requirements of eCommerce stores.
Having a low budget isn’t something that should stop you from growing in life. In this digital world where everything can be done by sitting in your home, you can start any business you want without having any tension of a limited budget.
Learn how to take product photos with iPhone to scale down your product photoshoot within your budget.

As a minor or a temporary resident, it could be difficult to sell online without a Social Security N ...

Are you looking for the best way to enhance your Amazon product listing to stand out among the compe ...
Tradexcel Graphics is a creative boutique video production company with a track record of making awa ...
As the decades go by, tech and communications are increasingly becoming intertwined with our life. W ...